How to Install a Freezeproof Faucet

>
A step-by-step guide to protecting your exterior faucets from freezing and bursting
Most homeowners are prepared to deal with the occasional sticky doorknob or cracked floor tile, but even the most intrepid do-it-yourselfer shudders at the thought of a burst water pipe. If not immediately noticed, a ruptured pipe can be both expensive and time-consuming to clean up.
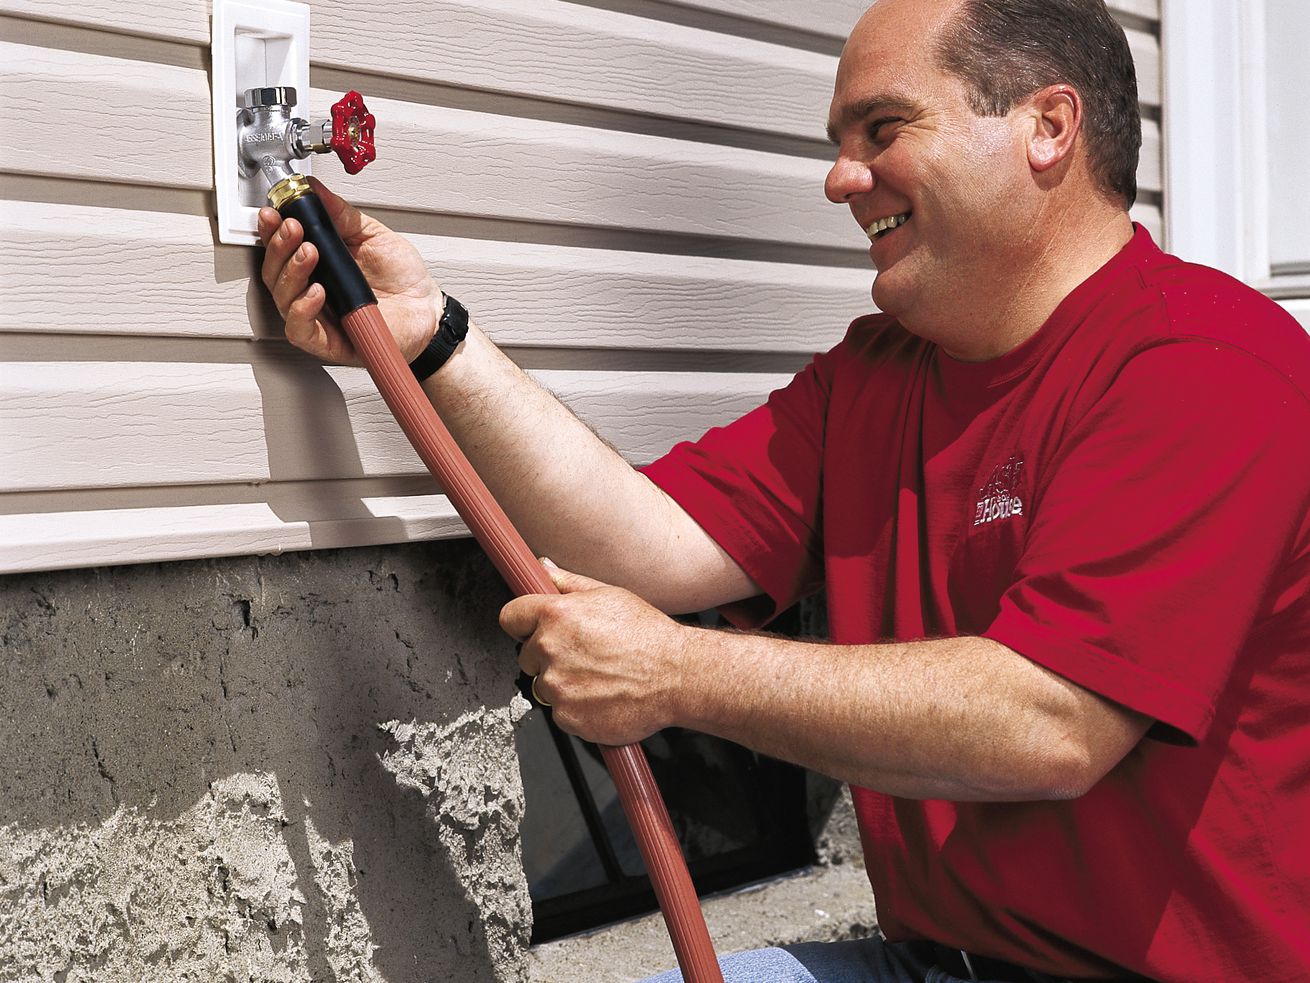
Fortunately, the pipe that’s most susceptible to extremely cold weather—the outdoor hose faucet—is also one of the easiest to protect from freezing. Here, This Old House plumbing and heating expert Richard Trethewey shows how to replace an existing hose faucet with a freeze-proof faucet.
Prevent outdoor faucets from freezing
Water expands when it freezes, and if that water is sitting in a pipe, the resulting pressure can be enough to crack it. Insurance companies say that just a ½-inch crack can cause enough damage to result in a $9,000 claim. Save your garden hoses, outdoor faucets, and their indoor pipes from freezing with these simple steps: Disconnect, drain, and store all hoses. Next, close the shutoff valve on the spigot’s water line inside the house, and open the faucet to let the remaining water drain outside. Leave the faucet slightly open until you plan to use it again.
Freezeproof Faucet Overview
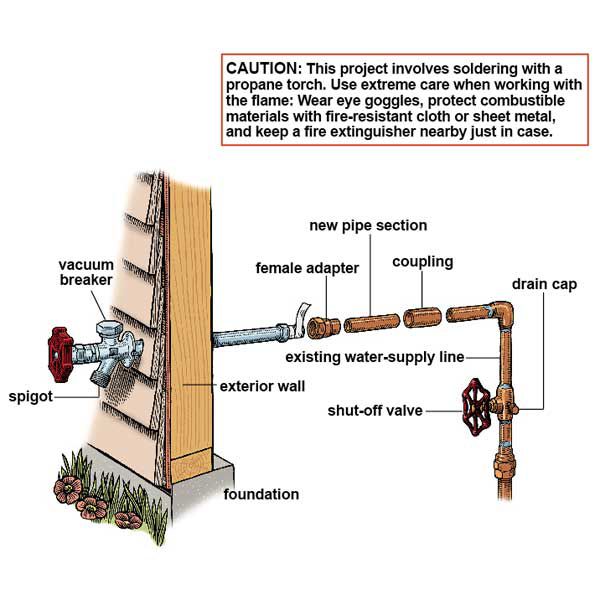
Illustration by Gregory NemecA burst water pipe is a home-repair nightmare: When the temperature drops below freezing and the water in an exposed pipe freezes, it expands, rupturing the pipe. While most plumbing is protected by insulation or heating, an outdoor faucet is vulnerable to the elements.
Fortunately, this fixture is easy to protect with a freezeproof faucet (aka a freezeless or frostproof hose bib, sill cock, or faucet). A standard hose faucet freezes because the supply pipe connect to the faucet outside the heated house. This exposes the water to freezing temperatures. A freezeproof faucet, ranging from 4 to 24 inches in length, extends back into the house, and its valve seat—where the water stops when the faucet is off—is all the way inside. So once the handle is turned off outside, the water never makes it farther than the warm side of the wall; any water trapped in between just drains out the faucet.
Note that this installation presumes your house is plumbed with copper pipe. You’ll generally be able to follow these directions for other materials, although cutting and joining will be different. If you have galvanized steel pipes, don’t forget to use a dielectric union if you introduce copper pipe into the system.
CAUTION: This project involves soldering with a propane torch. Use extreme care when working with the flame: Wear eye goggles, protect combustible materials with fire-resistant cloth or sheet metal, and keep a fire extinguisher nearby just in case.
Step 1: Drain the faucet
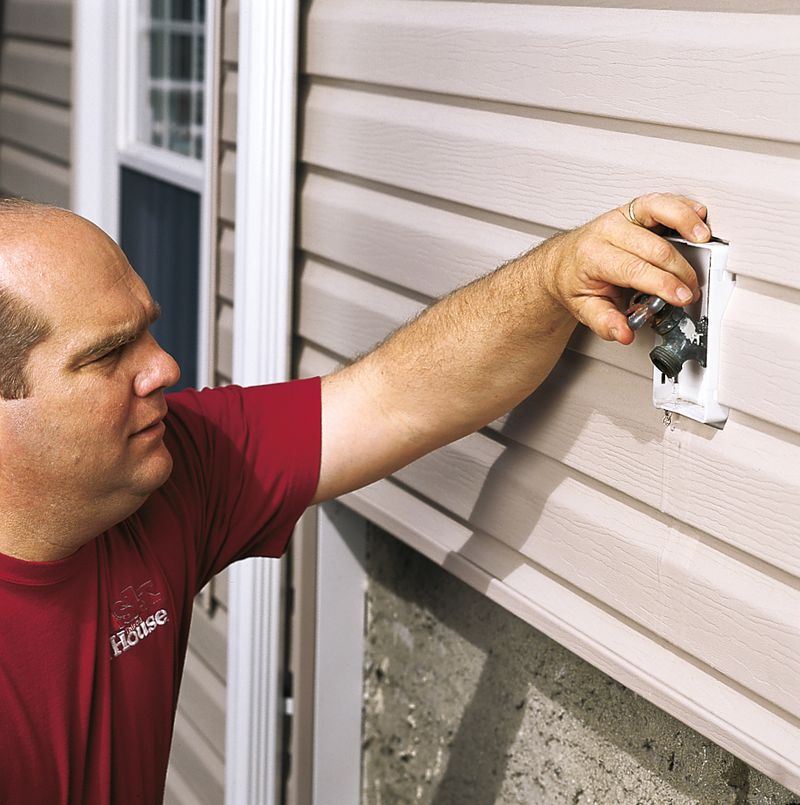
Photo by Shaffer Smith PhotographyClose the water-supply shut-off valve nearest to the hose faucet to be replaced.
Go back to the faucet, disconnect the hose, and open the faucet so it drains.
Return to the shut-off valve and check its side for a small nut, or drain cap. If you see one, hold a bucket under the valve and loosen the nut with your fingers or a pair of pliers. Any water tapped between the faucet and the shut-off valve will drain out.
Step 2: Cut the supply line

Photo by Shaffer Smith PhotographyOn the inside of the wall, find the horizontal pipe coming from the hose faucet. Estimate where the new freeze-proof faucet will reach, add 6 inches, and make a mark.
If the pipe is copper, use emery cloth or 100-grit sand-paper to clean this area.
Cut copper pipe at the mark with a mini hacksaw, tubing cutter, or close quarter tubing cutter.
Tip: When using a tubing cutter, make at least one full revolution around the pipe before tightening its knob a turn.
Step 3: Take out the old faucet
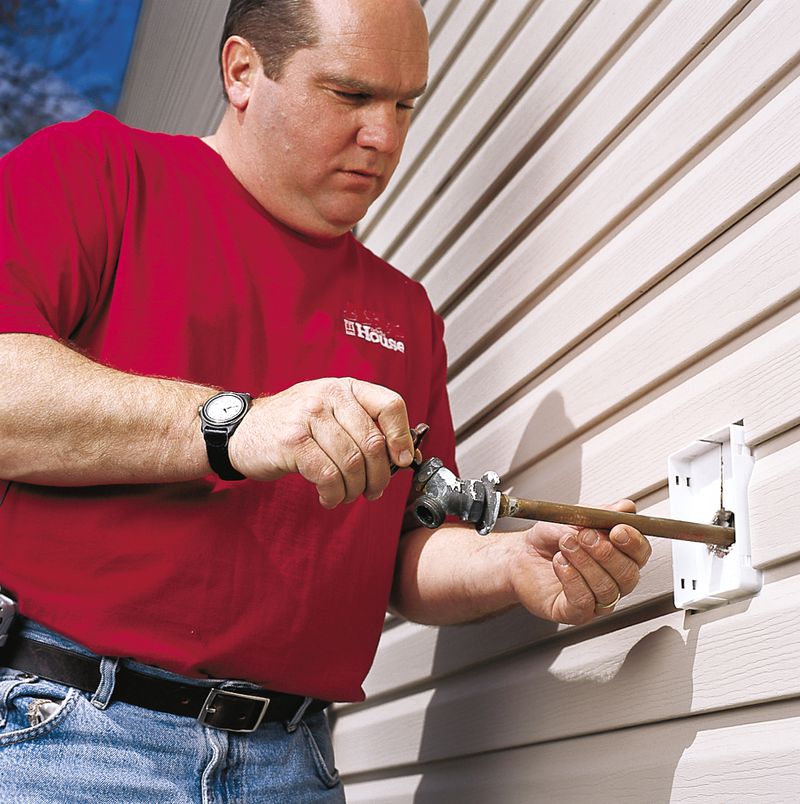
Photo by Shaffer Smith PhotographyGo outside and remove the two screws holding the old hose faucet to the house.
Carefully pull the faucet out of the wall. If its flange is trapped behind a piece of siding or trim, use a pry bar to work the flange free.
Tip: Don’t discard the old faucet just yet. You may be able to use the part of the supply pipe that’s attached to it to connect the new freezeproof faucet.
Step 4: Remove the new faucets stem assembly
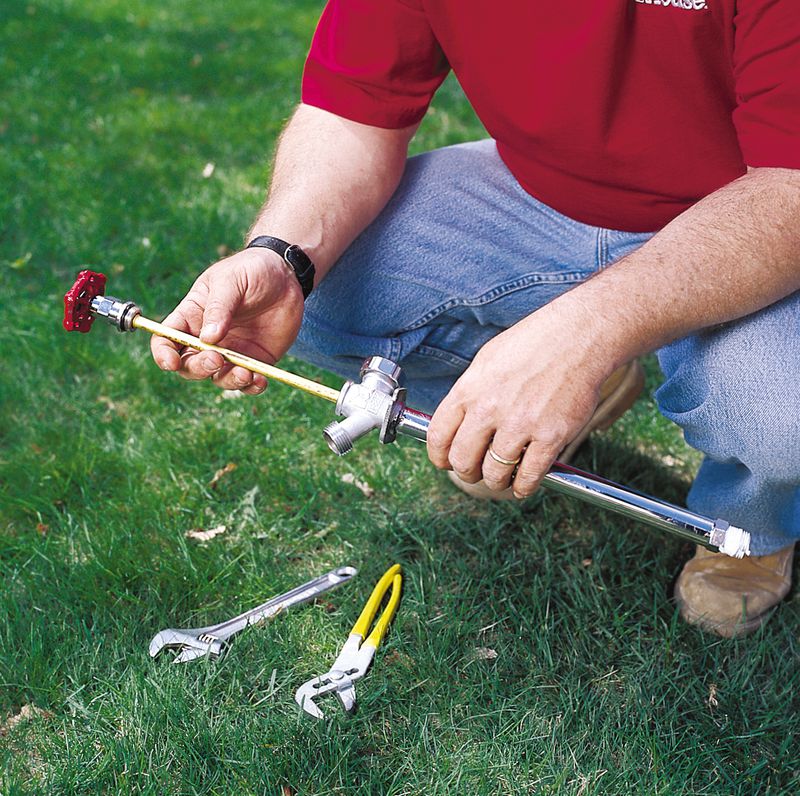
Photo by Shaffer Smith PhotographyUse an adjustable wrench and pliers to remove the stem assembly from the freezeproof faucet. Twist off the retaining nut and slide out the assembly.This is necessary to prevent the stem’s rubber seat from melting during soldering.
Test-fit the new faucet into the hole in the house wall. If it doesn’t quite fit, enlarge the hole with a drill and 1-inch-diameter spade bit.
Step 5: Install the new faucet
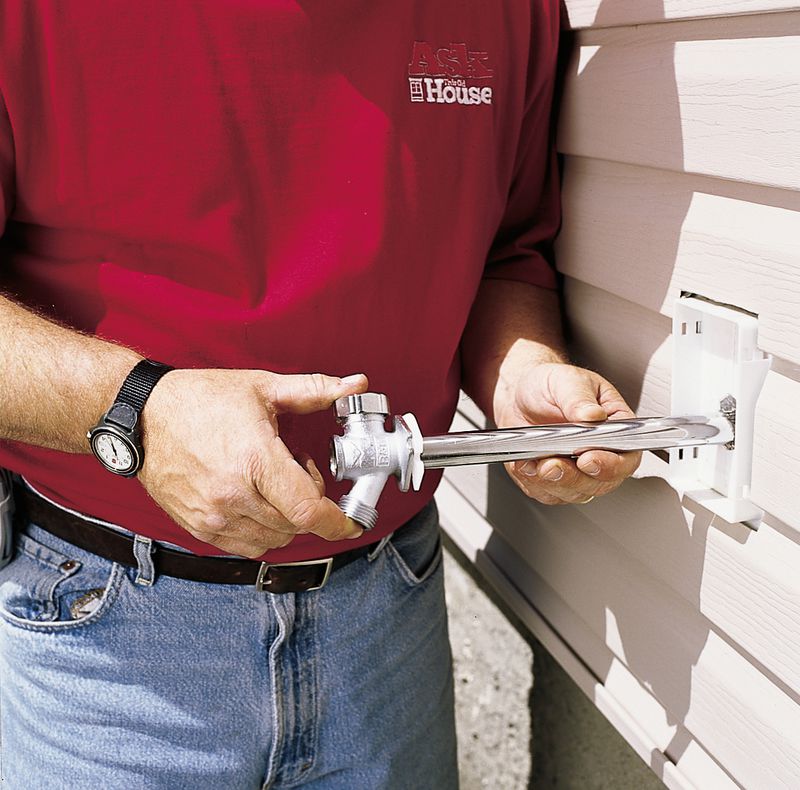
Photo by Shaffer Smith PhotographyWrap the threaded end of the new faucet with Teflon plumber’s tape, then slide it through the hole and press the flange tight against the siding. Don’t screw it in place just yet.
If the hole is a bit too big, pull ou tthe faucet a few inches and fill the space around the pipe with a thick bead of adhesive caulk. This will help to seal out the cold.
Now, move inside and bring with you all the fittings and tools for making the plumbing connections.
Step 6: Fit the pipe connection
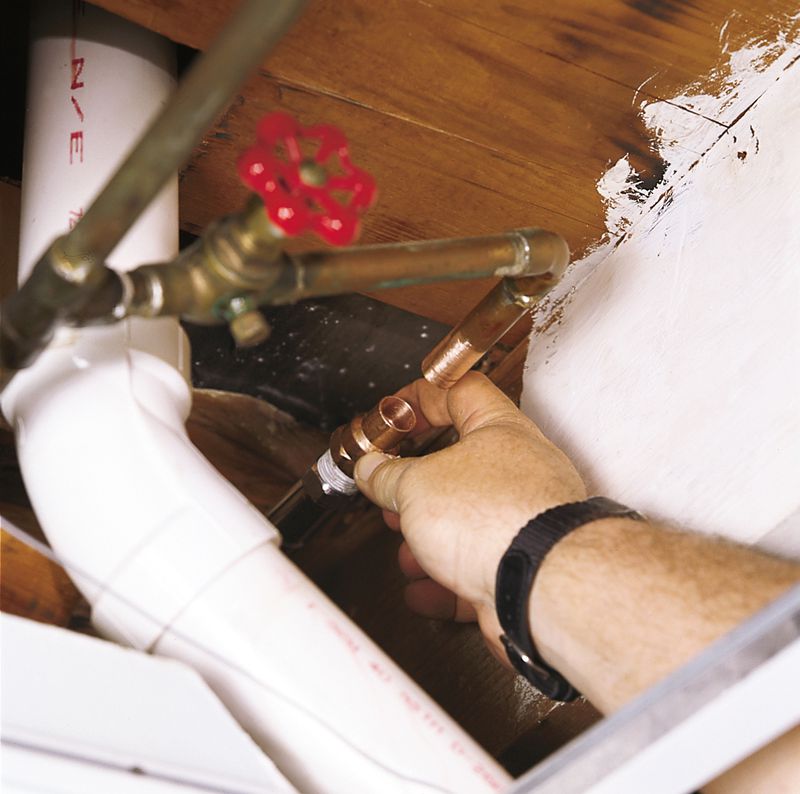
Photo by Shaffer Smith PhotographyThread a 1/2-inch female copper adapter onto the end of the freezeproof faucet, then tighten it with a wrench.
Meaure the gap between the adapter and the water-supply pipe you cut; add 1/2 inch and cut a length of new pipe to fit or use what’s attached tot he old faucet.
Tip: Fit an adjustable wrench on the wrenching surface, next to the threads, to hold the faucet steady as you tighten the adapter.
Step 7: Solder the connections
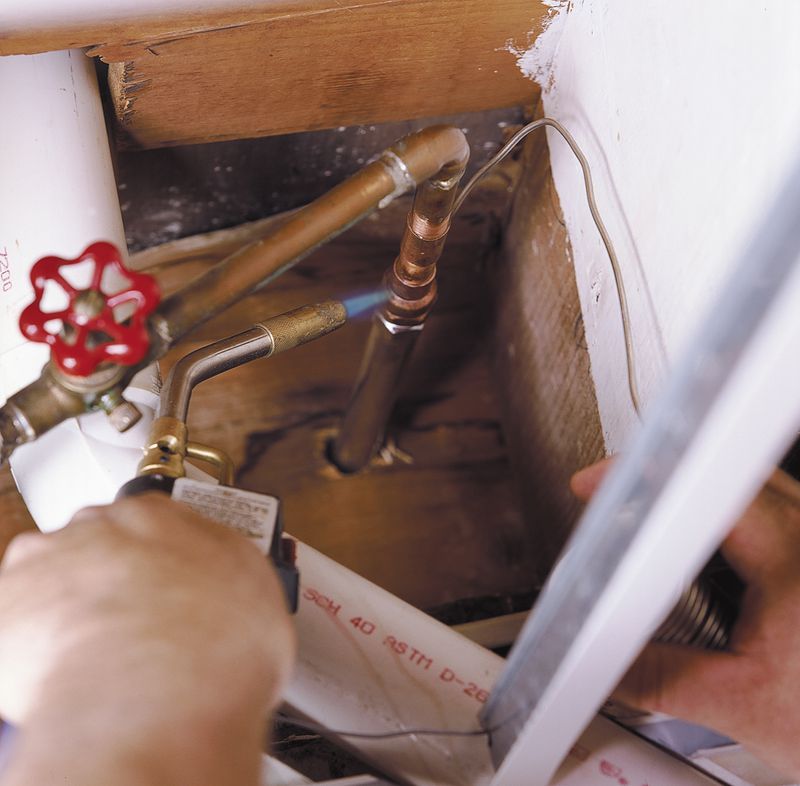
Photo by Shaffer Smith PhotographySlide a 1/2-inch coupling over the end of the water-supply pipe.
Insert the short pipe section into the coupling at one end and the adapter at the other.
Solder the three joints using a propane torch and lead-free solder.
Wipe the joints clean with a thick cloth, being careful not to touch the hot pipe with your bare hand.
Tip: Remember to clean all the pipe endsand fittings with emery cloth and a wire fitting brush, then apply flux to all connecting surfaces before soldering.
Step 8: Reinstall the stem assembly
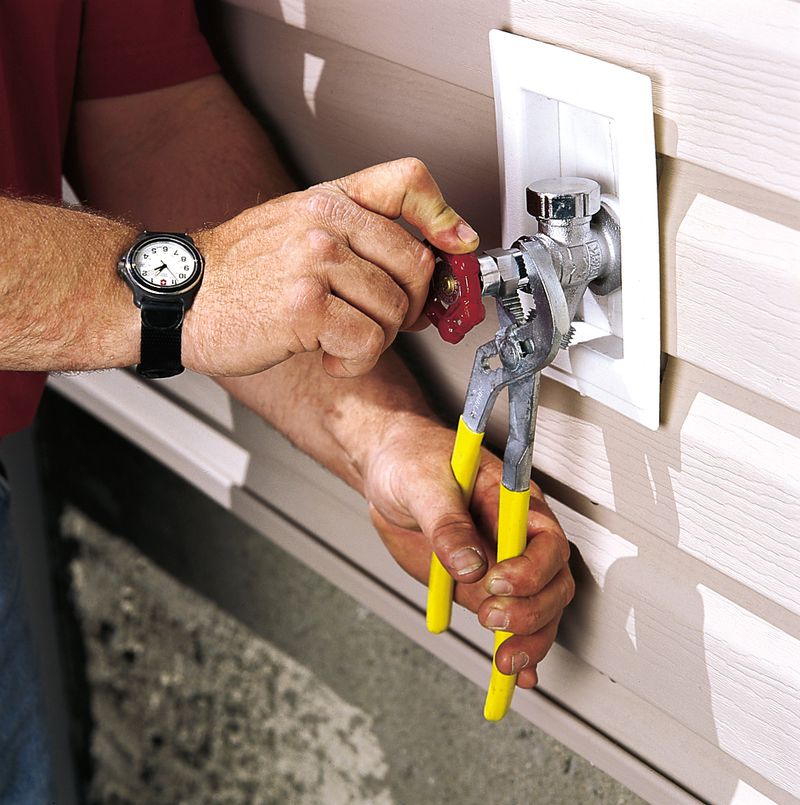
Photo by Shaffer Smith PhotographyNow you can secure the faucet to the house with two 1 1/2-inch long weather-resistant screws. Drive the screws through the mounting holes int he flange.
Slide the stem assembly into the faucet and tighten up with pliers.
Close the drain nut on the shut-off valve, then open the valve and check for leaks.
Now go back tot he new faucet and turn it on. Allow the water to run for a few seconds to flush out any excess flux.
Tip: For extra weather protection, wrap the faucet’s pipe with pre-slit foam or fiberglass pipe-insulation tubes.
Tools
Did you miss our previous article…
https://www.tampa-bay-homes-guide.com/?p=1800