How To Stain Brick

>

iStock
Brick is incredibly durable and can last a very long time, but that doesn’t mean you’re stuck with the same old look for eternity. You can stain your brick surfaces for a new, fresh look, and we’ll show you how.
When it comes to durability, brick homes and buildings are some of the longest-lasting structures around. In fact, the Castle of Good Hope in Cape Town, South Africa and Bromley Hall in London, England are both brick structures that are over 500 years old. But that doesn’t mean you have to spend centuries looking at the same old color in your home. If you learn how to stain brick, you’ll be able to change its look over the course of a weekend.
Can You Stain Brick? Stain vs. Paint
Both stain and paint can change the look of brick siding, fireplaces, and other masonry. They each have their pros and cons, but both are good options for a brick makeover. The choice will depend on your goals.
When it comes to ease of application, painting brick is usually the way to go. With a thick roller, an old paintbrush, and a bit of effort, you can achieve a painted look in just a coat or two. Paint will dry on the outside of the brick, covering it completely. However, paint doesn’t soak into the brick, so it’s not as long-lasting or durable as a stain.
On the contrary, stain is more challenging to apply, often requiring several coats to achieve the color and effect desired. This is because brick is porous and will soak up the stain as it’s applied. For that reason, it’s best to apply a stain with a paint sprayer, though it is possible to do with a roller and brush. However, there are several benefits of staining brick. To start, the look will last much longer than paint. Staining these surfaces also allows the natural beauty of the brick to show and covers more area—which means you’d likely save money with this method.
Steps for Staining Brick
The process of staining brick isn’t complex, but there are certain steps you’ll need to follow to achieve the best possible result.
Step 1: Clean the bricks
For a stain to penetrate well and take hold, the bricks should be relatively clean. However, due to its irregularities and porosity, brick can be difficult to clean.
Use a pressure washer to clean the entire area. Don’t be overly aggressive with the pressure or nozzle because, though brick is durable, you can easily damage mortar with too much pressure. Bring the pressure down to around 1,000 PSI (1,500 at the max) and watch to ensure you’re not blasting the mortar away.
Step 2: Make repairs
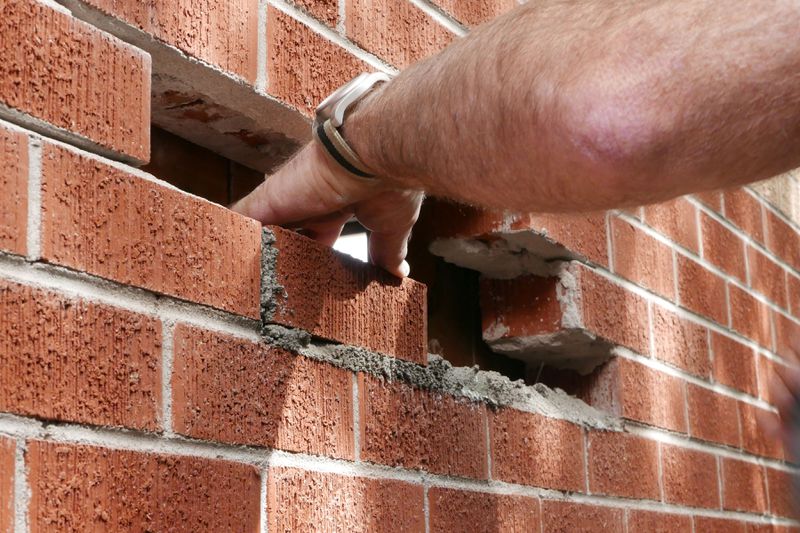
Colleen McQuaidAfter the surface is clean, do a thorough inspection of the brick and mortar joints. Most likely, the bricks will be in suitable condition. But mortar can deteriorate over time, so make repairs where necessary.
Prepare mortar mix by following the manufacturer’s directions on the bag. Then, with the pointing trowel, replace any deteriorated mortar with the fresh mix. Be sure to work the mortar as far into the joint as possible and shape the repair to blend in with the rest of the joint. Give the mortar at least a few days to dry before staining.
Step 3: Prep the area
Stain is thinner than paint, and the process of staining brick can be very messy.
When staining interior brick, use tape to protect anything along the brick you don’t want stained, such as walls, trim, mantles, etc. Use drop cloths to protect anything you can’t remove from the area.
For staining exterior brick, tape along any trim, windowsills, and the foundation, if necessary. Also, lay drop cloths over larger elements like shrubs, bushes, decks, sidewalks, and the like.
Step 4: Mix the stain
Like paint, stain will separate in the can over time, with the pigments sinking to the bottom and solvents rising to the top. These components need thorough mixing to ensure the finished product is even and consistent.
The best tool for mixing masonry stain is a drill with a paint mixer attached. Place the end of the mixer in the stain and mix until the entire contents incorporate with each other. You can also use a wooden paint stirrer; it will just take longer.
Depending on the manufacturer, you might need to dilute the first coat. If that’s the case, use a clean bucket and add the water according to the manufacturer’s recommendation. Keep this mixed stain separate from the rest.
Step 5: Load the paint sprayer
Using an inexpensive paint sprayer (roughly $60) is far more efficient than rolling and brushing the stain onto the brick. Load it by removing the hopper and filling it up to the “max” line. Reattach the hopper to the paint sprayer and prime it by plugging it in, pointing it at a piece of cardboard, and holding the trigger until it sprays. Twist the spray nozzle so the spray pattern is vertical.
Step 6: Spray the brick

Annalize Nel/GAP PhotosFinally, start coating the brick with the sprayer. Hold the sprayer roughly twelve inches from the brick’s surface and at a slight angle. While holding the trigger, sweep the sprayer from left to right, overlapping the last pass by half. Continue sweeping back and forth until you coat the entire brick surface. Use an old paintbrush to clean up any puddles or even out the mortar joints.
After allowing to dry (the time will depend on the humidity, temperature, and how heavy a coat you applied), apply another coat. If possible, twist the spray nozzle so the spray pattern is horizontal and apply this coat in an up-and-down motion. Again, overlap the last pass by half.
Continue applying coats in this manner, alternating spray patterns, until the brick surface looks as planned.
With that, you’ll have given your brick surface a makeover that will last for years and years. Best yet, you don’t even need to seal the brick after staining. By learning how to stain brick, you’ll be able to enjoy the low maintenance and durability of your brick surface, as well as the fresh new look you’ve given it.
Tools and Materials
Did you miss our previous article…
https://www.tampa-bay-homes-guide.com/?p=1664